Welcome to trezor.io/start, your official starting point for setting up a Trezor hardware wallet and taking full control of your digital assets. Whether you’re just beginning your crypto journey or are a seasoned investor, this guide will help you secure your crypto safely and efficiently.
In the rapidly evolving world of cryptocurrencies, ownership goes beyond simply holding coins in an exchange account. True ownership means controlling your private keys—the digital keys to your crypto kingdom. Trezor hardware wallets are built to protect these keys with industry-leading security while keeping the user experience simple and intuitive.
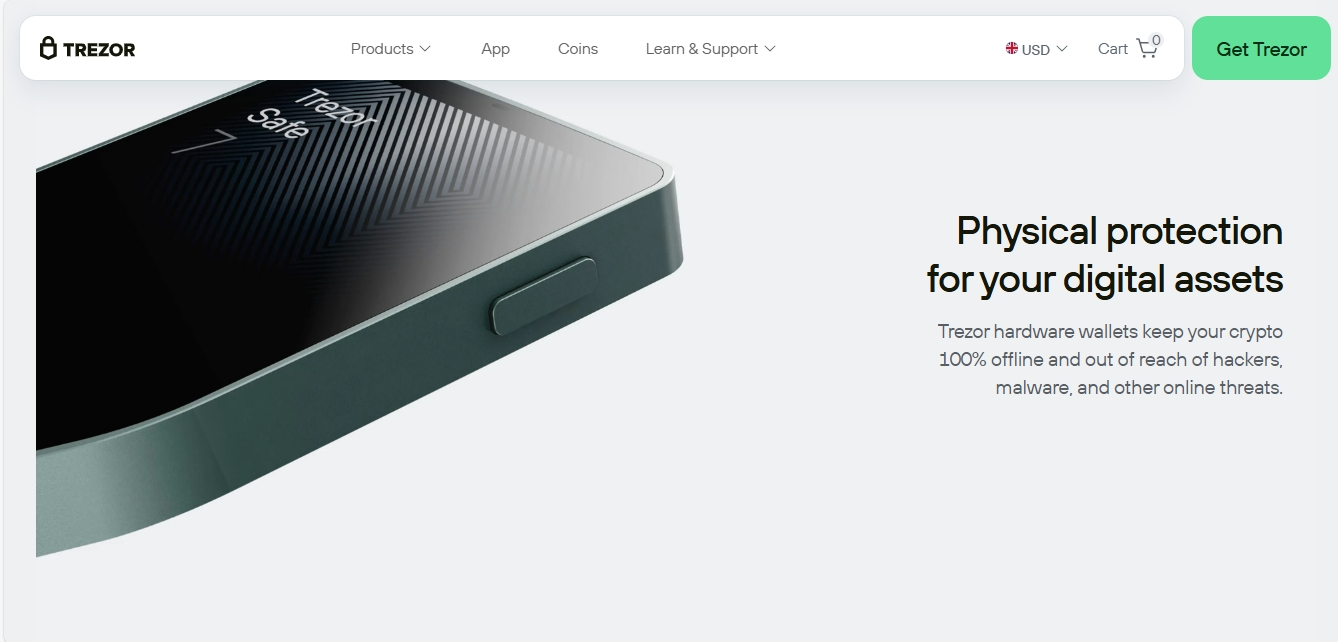
Trezor is trusted globally for providing secure, offline storage for cryptocurrencies. Unlike software wallets or centralized exchanges, Trezor stores your private keys in a secure, offline environment. This keeps your assets safe from malware, phishing attacks, and hacking attempts.
With a Trezor wallet, you are the only person who can access your crypto. You remain in full control of your funds at all times. No third-party storage, no compromises.
Before beginning the setup, make sure you have:
Always start your setup at trezor.io/start to ensure you are using official software and instructions.
Trezor Suite is the official app for managing your crypto with your Trezor wallet. Through Trezor Suite, you can:
Download Trezor Suite only from trezor.io/start to avoid counterfeit apps or malware.
Once Trezor Suite is installed, connect your device and follow the guided setup:
Your recovery seed is the most critical part of your setup. It acts as the backup of your entire wallet. If your device is lost, stolen, or damaged, you can restore your crypto using this seed.
Important: Write your recovery seed down and store it in a safe, offline location. Never share it with anyone. Trezor will never ask for it.
After setup, Trezor allows you to manage multiple cryptocurrency accounts safely. Supported cryptocurrencies include Bitcoin, Ethereum, and thousands of other coins and tokens.
To add accounts:
All transaction approvals occur on your device, meaning your private keys never leave your Trezor wallet.
Trezor isn’t just a storage device—it’s a complete tool for managing your crypto safely. Through Trezor Suite, you can:
All of this happens while keeping your private keys offline and secure.
To maximize your crypto security:
Remember, anyone with your recovery seed can access your crypto. Protect it like you would a physical safe.
By setting up your Trezor wallet, you’re taking the first step toward true self-custody of your digital assets. Unlike relying on exchanges, you are now in full control of your crypto security.
Follow the setup carefully, double-check each step, and enjoy the confidence that comes from knowing your assets are safely stored offline.
Start your crypto journey securely. Start with confidence.
Start at trezor.io/start.